
Why You’ll Love This Casserole
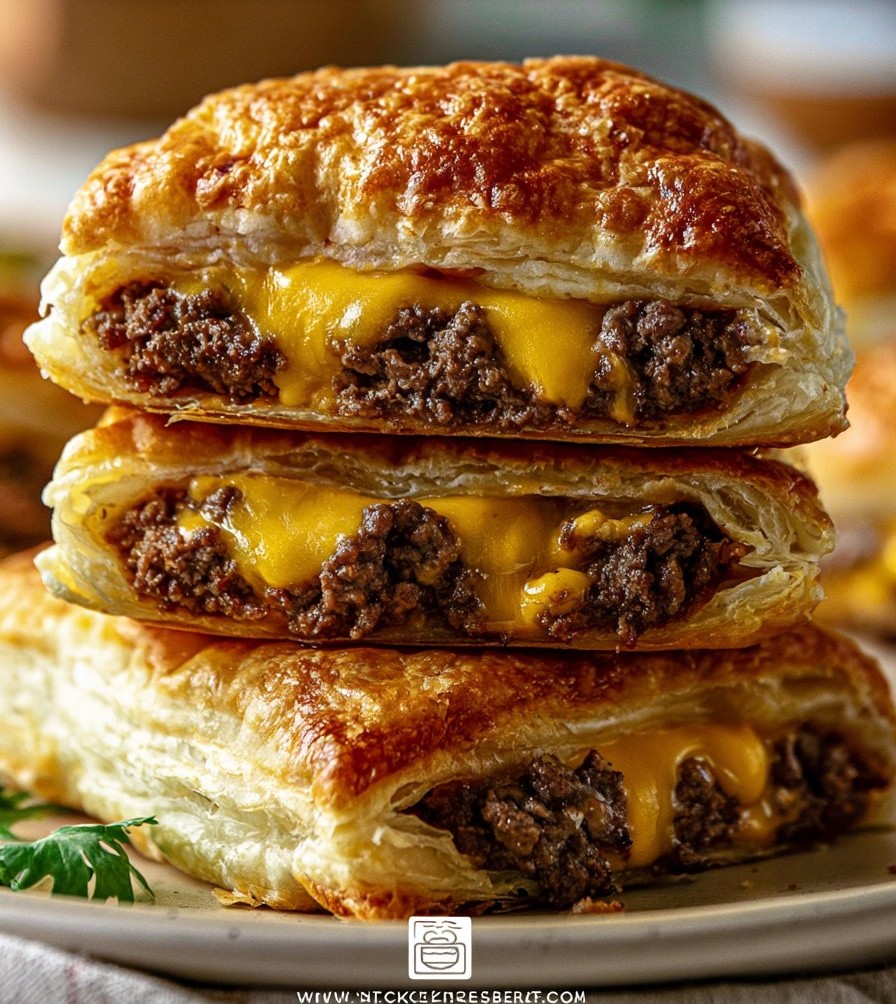
Cheeseburger pockets are not just a delicious meal; they’re a comforting embrace of flavors wrapped in a warm, flaky crust. Perfect for busy weeknights, these handheld pockets bring the taste of a classic cheeseburger straight to your table without the grill hassle. Kids and adults alike will enjoy sinking their teeth into these cheesy, meaty bites. Not only do they make for great lunch box fillers, but they’re also a fantastic idea for parties and game-day snacking. Let’s dive into how to make these delectable cheeseburger pockets, which are sure to become a family favorite.
Ingredients
- 1 lb ground beef
- 1/2 cup onion, diced
- 3/4 cup cheddar cheese, shredded
- 1/4 cup ketchup
- 1 tablespoon mustard
- 1 teaspoon garlic powder
- 1 teaspoon paprika
- 1 can (8 oz) refrigerated crescent roll dough
- Salt and pepper to taste
- Optional: pickles, sliced for added crunch
Directions
- Preheat the oven to 375°F (190°C).
- In a skillet, over medium heat, brown the ground beef. Add the diced onion, cooking until the onions are soft and translucent.
- Drain excess fat from the skillet, if necessary. Season the beef mixture with garlic powder, paprika, salt, and pepper.
- Stir in ketchup and mustard, mixing until well combined. Remove the skillet from heat and allow the mixture to cool for a few minutes.
- Unroll the crescent roll dough on a lightly floured surface. Separate the triangles along the perforated lines.
- Place a generous spoonful of the beef mixture onto the wide end of each triangle.
- Sprinkle shredded cheddar cheese over the beef mixture.
- Add sliced pickles on top if you prefer that extra crunch.
- Roll up the pockets, starting from the wide end towards the narrow point. Pinch the edges to seal them properly, making sure there are no openings.
- Place the pockets on a baking sheet lined with parchment paper.
- Bake in the preheated oven for 12-15 minutes or until golden brown.
- Serve warm with additional ketchup or mustard for dipping, if desired.
What Makes Cheeseburger Pockets Unique?
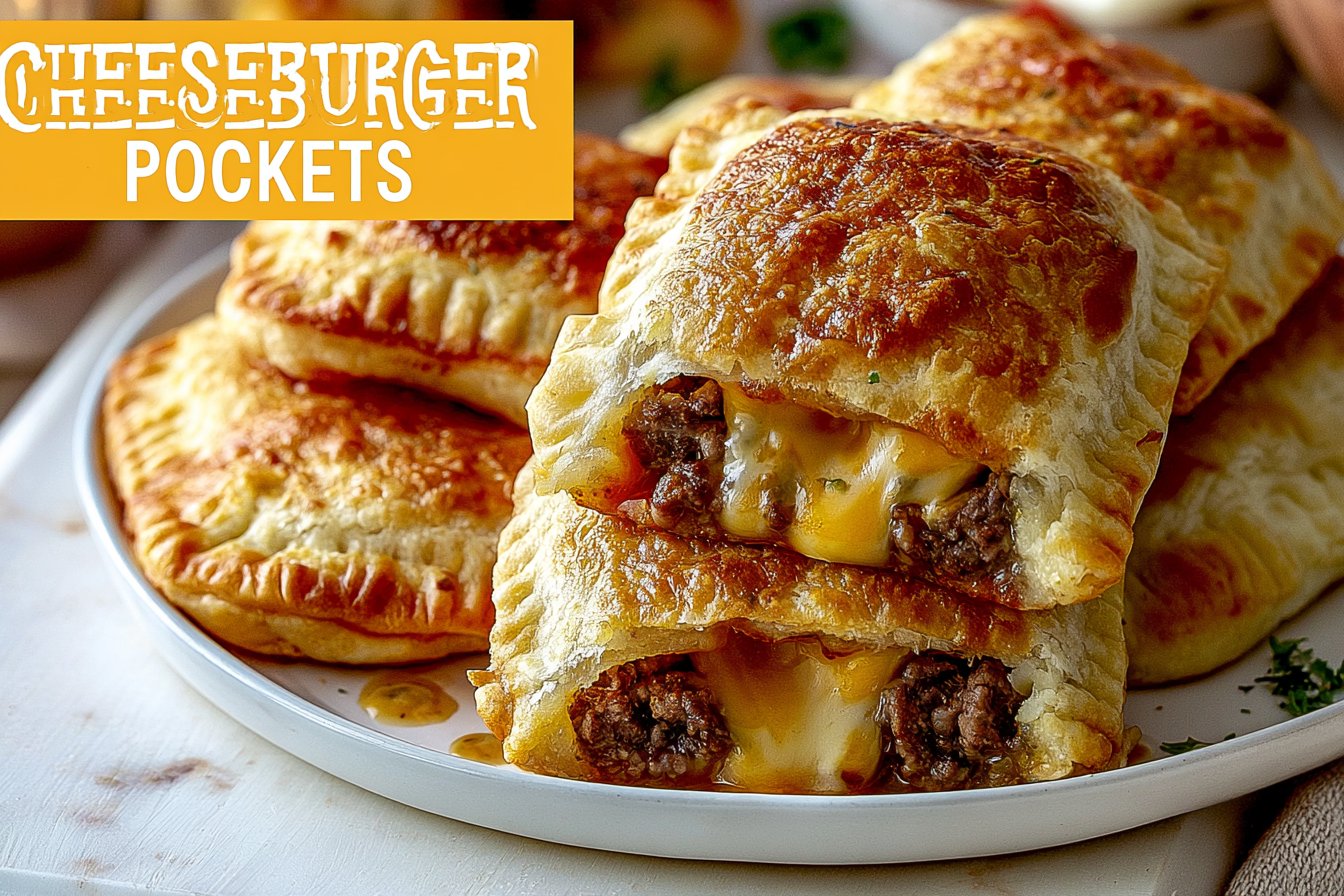
Cheeseburger pockets take the beloved cheeseburger concept and transform it into a versatile, travel-friendly meal. The chewy yet flaky dough perfectly complements the savory, flavorful filling of seasoned beef, melted cheese, and your choice of condiments. Unlike burgers, which often require utensils and a plate, these pockets can be enjoyed on the go, making them ideal for picnics, road trips, or even a casual family dinner on a busy day.
Variations to Try
One of the best aspects of cheeseburger pockets is their versatility. You can modify them to suit your taste preferences or dietary needs:
- Turkey or Chicken Version: Substitute ground beef with ground turkey or chicken for a leaner option.
- Veggie Pockets: Replace the meat with sautéed mushrooms, bell peppers, and black beans for a vegetarian-friendly alternative.
- Cheese Factor: Experiment with different types of cheese, such as pepper jack for a spicy kick or mozzarella for a gooey texture.
- Spicy Twist: Add diced jalapeños or a splash of hot sauce to the meat mixture for extra heat.
Tips for Perfect Pockets
- Seal Tightly: Ensure each pocket is sealed well to avoid spilling the filling during baking.
- Cool the Filling: Let the meat mixture cool before assembly to avoid breaking down the dough.
- Egg Wash: For a golden and shiny crust, brush the tops of the pockets with a beaten egg before baking.
- Snack Size: For smaller, bite-sized treats, consider cutting the dough into smaller triangles and adjusting the filling accordingly.
Serving Suggestions
Cheeseburger pockets pair wonderfully with a variety of sides and dips. Serve them with:
- French Fries: The classic side that never disappoints.
- Coleslaw: Provides a crunchy, refreshing contrast to the warm pockets.
- Salad: A light green salad with vinaigrette can balance out the richness of the pockets.
- Dipping Sauces: Combine ketchup, mustard, barbecue sauce, or ranch dressing for dipping options.
Storage and Reheating
If you have leftover pockets, you can store them for up to three days in an airtight container in the refrigerator. To reheat:
- Preheat your oven to 350°F (175°C).
- Place the pockets on a baking sheet and heat for about 10 minutes or until warmed through. This will help retain their crispy texture.
Conclusion
Cheeseburger pockets are a delicious and flexible dish that brings the beloved flavor of cheeseburgers into a convenient, hand-held format. Whether you’re cooking for your family, planning a party, or simply craving a snack, these pockets will fit the bill perfectly. With easy prep, minimal cook time, and a world of variations at your fingertips, making cheeseburger pockets can become a fun and family-friendly cooking experience. So roll up your sleeves, gather your ingredients, and enjoy this tasty treat!
Made with love, enjoy creating and sharing these delicious cheeseburger pockets with friends and family!

Cheeseburger Pockets
Ingredients
Method
- Preheat the oven to 375°F (190°C).
- In a skillet over medium heat, brown the ground beef. Add the diced onion, cooking until the onions are soft and translucent.
- Drain excess fat from the skillet, if necessary. Season the beef mixture with garlic powder, paprika, salt, and pepper.
- Stir in ketchup and mustard, mixing until well combined. Remove the skillet from heat and allow the mixture to cool for a few minutes.
- Unroll the crescent roll dough on a lightly floured surface. Separate the triangles along the perforated lines.
- Place a generous spoonful of the beef mixture onto the wide end of each triangle.
- Sprinkle shredded cheddar cheese over the beef mixture.
- Add sliced pickles on top if you prefer that extra crunch.
- Roll up the pockets, starting from the wide end towards the narrow point. Pinch the edges to seal them properly, making sure there are no openings.
- Place the pockets on a baking sheet lined with parchment paper.
- Bake in the preheated oven for 12-15 minutes or until golden brown.
- Serve warm with additional ketchup or mustard for dipping, if desired.