Last updated on February 19, 2025
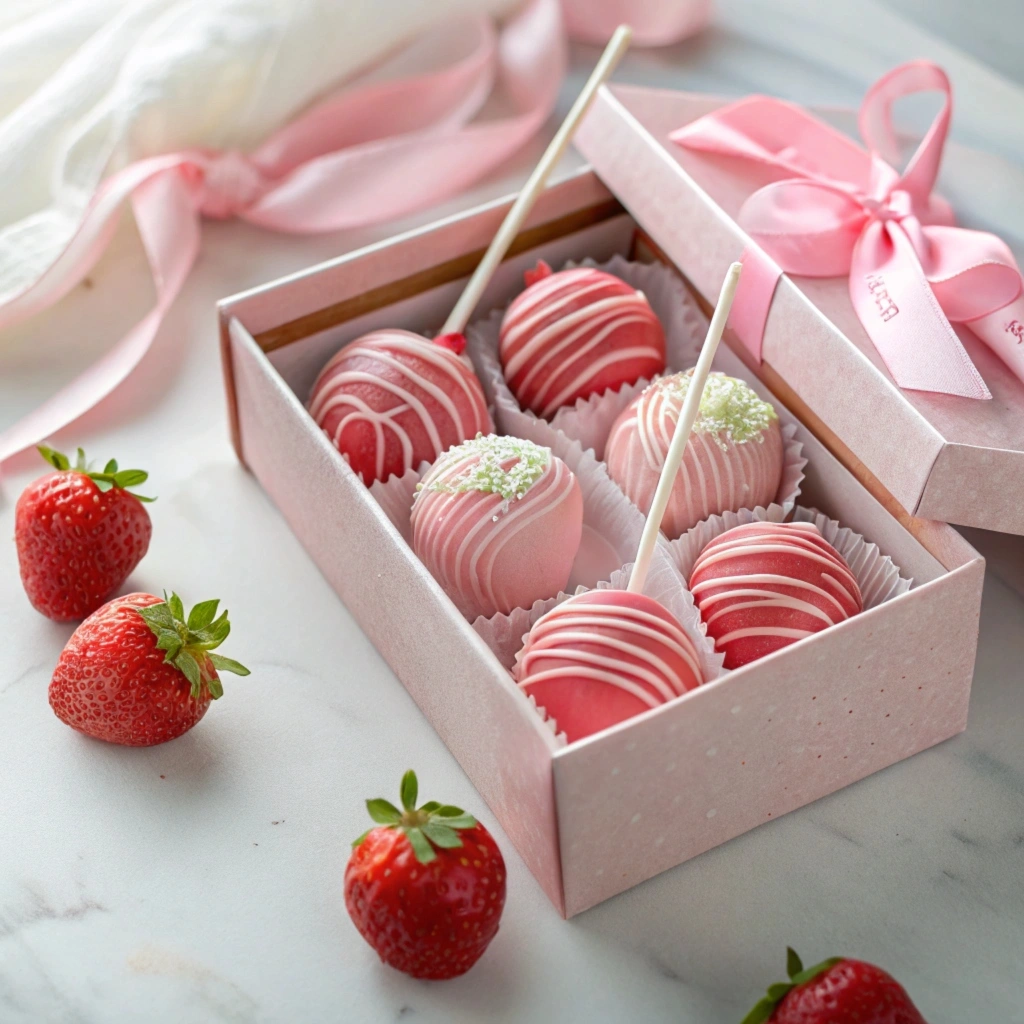
Strawberry cake pops are the ultimate bite-sized dessert that combines the fruity sweetness of strawberries, creamy frosting, and a smooth candy coating. Whether you’re making these for a party or a casual treat, they’re perfect for all strawberry lovers. If you’re looking for another indulgent strawberry dessert, try this delightful Strawberry Tres Leches Cake—a rich, moist sponge cake soaked in strawberry milk and topped with whipped cream. Together, these two desserts will create a stunning strawberry-themed dessert table that everyone will love.
What makes strawberry cake pops so special is their delightful appearance and mouth-watering flavor. Their beautiful pink color and smooth candy coating make them visually stunning, while the combination of cake and frosting delivers an irresistible burst of sweetness. Plus, these pops are easy to customize—you can add decorations, drizzle chocolate, or even create themed designs for any occasion.
If you’ve been intimidated by the thought of making cake pops, don’t worry! This step-by-step guide will walk you through the process, from baking the cake to achieving the perfect coating. By the end, you’ll have a batch of gorgeous, homemade strawberry cake pops that will wow everyone, whether served at a party or enjoyed as a treat with your afternoon coffee.
Let’s dive in and explore how you can make these adorable treats right at home!
What Are Strawberry Cake Pops?
Strawberry cake pops are miniature desserts that pack big flavor into small, bite-sized portions. These treats are made by crumbling baked strawberry cake and mixing it with frosting to form a dough-like consistency. The cake mixture is then shaped into balls, inserted onto lollipop sticks, and coated with melted candy or chocolate. The final touch involves decorating the cake pops with sprinkles, sanding sugar, or chocolate drizzles for a polished and festive look.
These sweet treats are perfect for:

- Celebrations: Birthdays, Valentine’s Day, weddings, and baby showers.
- Dessert tables: Their small size makes them ideal for serving at parties or gatherings.
- Gifts: Wrapped in cellophane and tied with a ribbon, they make adorable homemade gifts.
Strawberry cake pops stand out because of their vibrant pink color and fruity flavor. They’re a fun alternative to traditional cupcakes or cookies and can be made ahead of time, making them a stress-free option for hosts and bakers alike.
Ingredients for Strawberry Cake Pops
To create perfect strawberry cake pops, it’s important to use the right ingredients. Here’s a detailed breakdown of everything you’ll need:
1. Strawberry Cake Mix
Using a boxed strawberry cake mix is the easiest way to ensure your cake pops are both delicious and consistent. Popular brands like Duncan Hines Moist Strawberry Supreme and Betty Crocker Super Moist Strawberry work well for this recipe.
- Additional Ingredients for Cake Mix: Follow the instructions on the box, which typically include:
- 3 eggs
- 1 cup water
- 1/3 cup vegetable oil
Pro Tip: If you want a more vibrant pink color, you can add a few drops of food coloring to the cake batter before baking.
2. Cream Cheese Frosting
Cream cheese frosting adds a creamy, tangy flavor that perfectly complements the sweetness of the strawberry cake. While store-bought frosting works in a pinch, homemade frosting takes the flavor to the next level.
Ingredients for Homemade Frosting:
- 4 oz cream cheese (softened)
- 1 cup powdered sugar
- 1 tsp vanilla extract
- 2 tbsp heavy cream
How to Make Cream Cheese Frosting:
- In a mixing bowl, beat the softened cream cheese until smooth.
- Add powdered sugar and vanilla extract, and mix until well combined.
- Gradually add heavy cream, 1 tablespoon at a time, until the frosting reaches a spreadable consistency.
3. Candy Melts or White Chocolate
To coat your cake pops, you’ll need melted candy melts or white chocolate. Candy melts are ideal because they melt smoothly, harden quickly, and come in a variety of colors, including pink and white. Brands like Wilton offer high-quality candy melts that are easy to work with.
Alternative Option: White chocolate chips can be used instead, but you’ll need to add 1 tablespoon of coconut oil per 8 oz of chocolate to ensure it melts and coats evenly.
Pro Tip: Always melt candy melts in short intervals in the microwave (30 seconds at a time), stirring in between to prevent burning.
4. Lollipop Sticks
Lollipop sticks are essential for turning cake balls into cake pops. They’re available in various sizes, but 4 to 6-inch sticks are ideal for this recipe. You can find them at craft stores, baking supply shops, or online retailers.
5. Sprinkles or Decorations
Decorations give your strawberry cake pops a festive and polished look. Here are some popular options:
- Red or pink sanding sugar
- Heart-shaped sprinkles (perfect for Valentine’s Day)
- White or dark chocolate drizzle
- Edible glitter for an extra sparkle
Pro Tip: Decorate your cake pops immediately after dipping them in candy melts so the toppings stick before the coating hardens.
6. Optional Flavor Enhancements
If you want to enhance the strawberry flavor or add a unique twist, consider these options:
- Strawberry extract: Add 1 teaspoon to the cake batter for a more intense flavor.
- Freeze-dried strawberries: Crush freeze-dried strawberries and sprinkle them over the cake pops.
- Chocolate drizzle: Drizzle melted dark or milk chocolate over the coated cake pops for a sophisticated finish.
Equipment You’ll Need
In addition to the ingredients, here’s a list of basic equipment to make your strawberry cake pops successfully:
- 9×13 baking pan (for baking the cake)
- Parchment paper (to prevent sticking)
- Mixing bowls and whisk
- Cookie scoop (to measure evenly-sized cake balls)
- Microwave-safe bowl (for melting candy)
- Lollipop sticks (for holding the cake pops)
- Styrofoam block or cake pop stand (for drying the cake pops)
By gathering these ingredients and tools ahead of time, you’ll be fully prepared to create picture-perfect strawberry cake pops. Each element—whether it’s the moist strawberry cake, the creamy frosting, or the smooth candy coating—plays an important role in delivering both flavor and presentation.
Step-by-Step Guide to Make Strawberry Cake Pops
Creating strawberry cake pops may seem tricky at first, but following this simple step-by-step guide will ensure success. From baking the cake to dipping and decorating, each stage is explained in detail to help you make perfect cake pops.
1: Prepare the Strawberry Cake
- Preheat the Oven:
- Set your oven to 350°F (175°C). This ensures the cake bakes evenly.
- Prepare the Cake Mix:
- In a large mixing bowl, combine the strawberry cake mix, eggs, water, and oil as directed on the box.
- Mix until the batter is smooth, using a hand mixer or whisk to remove any lumps.
- Bake the Cake:
- Pour the batter into a greased 9×13-inch baking pan. Spread it evenly for consistent baking.
- Bake for 28–31 minutes, or until a toothpick inserted into the center comes out clean.
- Pro Tip: If using a dark or nonstick pan, check the cake a few minutes earlier to avoid over-baking.
- Cool the Cake:
- Remove the cake from the oven and let it cool completely on a wire rack. This step is essential because a warm cake will not mix properly with the frosting.
2: Make the Cream Cheese Frosting
- Combine the Ingredients:
- In a medium bowl, beat 4 oz of softened cream cheese until smooth.
- Add 1 cup of powdered sugar and 1 teaspoon of vanilla extract. Mix until creamy.
- Add Heavy Cream:
- Gradually add 1–2 tablespoons of heavy cream until the frosting is smooth and spreadable.
Tip: If you prefer a sweeter frosting, add a little more powdered sugar. For a lighter texture, add an extra splash of heavy cream.
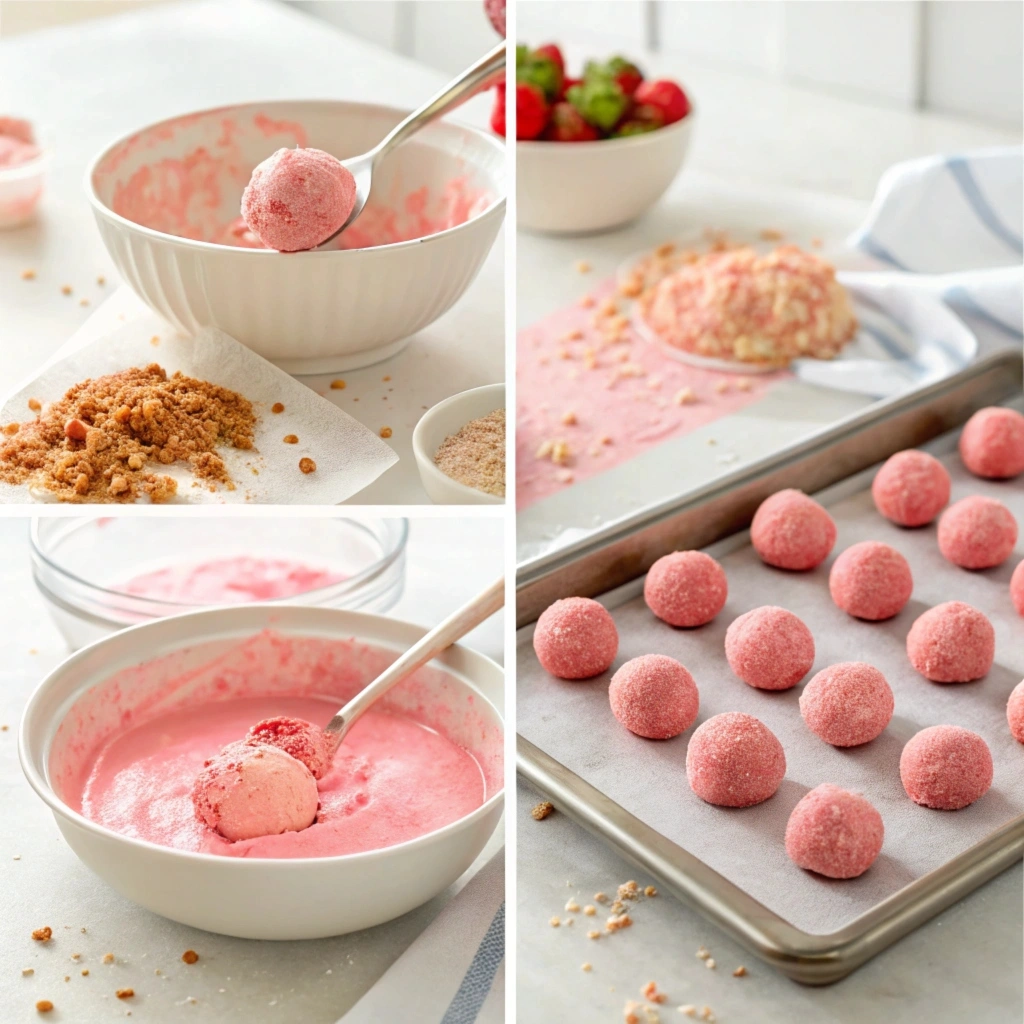
3: Crumble the Cake and Mix with Frosting
- Crumble the Cake:
- Once the cake has cooled completely, break it into large chunks and place them in a large mixing bowl.
- Use clean hands or a fork to crumble the cake into fine crumbs. The smaller the crumbs, the smoother the cake pop texture.
- Combine with Frosting:
- Add 3–4 tablespoons of cream cheese frosting to the cake crumbs. Start with a small amount and gradually add more if needed.
- Mix the frosting into the cake crumbs with your hands or a spatula until the mixture has a dough-like consistency.
Pro Tip: Avoid adding too much frosting; otherwise, the cake balls may turn out soggy. The mixture should hold together when rolled into a ball but not feel overly wet.
4: Roll the Cake Balls

- Measure the Cake Mixture:
- Use a cookie scoop or tablespoon to measure out equal portions of the cake mixture (about 1 tablespoon per ball).
- Roll the Balls:
- Roll each portion between your palms to form a smooth, round ball.
- Place the rolled balls onto a parchment paper-lined baking sheet.
- Chill the Cake Balls:
- Transfer the baking sheet to the freezer and chill the cake balls for at least 30 minutes. This helps firm them up and makes them easier to dip later.
- Tip: Do not skip this step—chilling the cake balls prevents them from falling apart when dipped in candy melts.
5: Melt the Candy Coating
- Prepare the Candy Melts:
- Place white or pink candy melts in a microwave-safe bowl.
- Heat in 30-second intervals, stirring well after each interval, until the candy melts are completely smooth and melted.
- Thin the Coating (If Needed):
- If the candy coating is too thick, add 1–2 teaspoons of coconut oil or vegetable shortening to thin it out. Stir until well combined.
6: Dip the Cake Pops
- Attach the Sticks:
- Dip the tip of a lollipop stick into the melted candy coating (about ½ inch deep).
- Insert the coated end of the stick into the center of a chilled cake ball, pushing it about halfway through.
- Let the candy coating set for a few seconds to secure the stick.
- Dip the Cake Pops:
- Hold the cake pop by the stick and dip it into the melted candy coating. Tilt the bowl slightly and swirl the cake pop to ensure even coverage.
- Gently tap off any excess coating by lightly tapping the stick against the side of the bowl.
- Decorate Immediately:
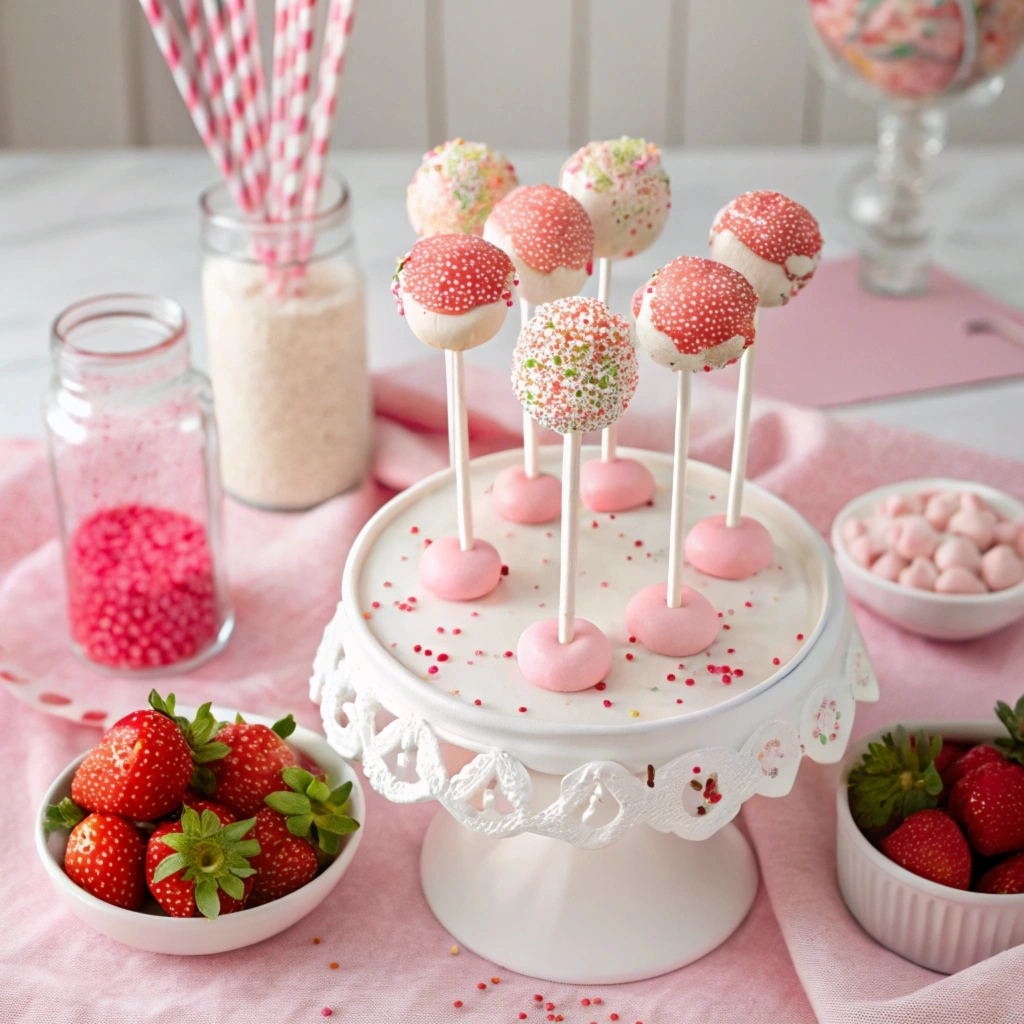
- While the candy coating is still wet, sprinkle the cake pops with sanding sugar, sprinkles, or crushed freeze-dried strawberries.
- Place the dipped cake pops upright in a cake pop stand or a Styrofoam block to let them dry completely.
7: Let the Cake Pops Set
Allow the cake pops to dry at room temperature for about 15–20 minutes, or until the candy coating has hardened completely.
8: Serve and Enjoy
Once the candy coating has set, your strawberry cake pops are ready to serve! Arrange them in a decorative stand, wrap them in clear bags for gifts, or display them on a dessert table.
Now that you’ve mastered the step-by-step process, your strawberry cake pops will look professional and taste incredible.
Tips for Perfect Strawberry Cake Pops
To ensure your strawberry cake pops turn out smooth, delicious, and picture-perfect every time, here are some expert tips:
- Chill the Cake Balls Properly:
- Always chill the rolled cake balls for at least 30 minutes before dipping them in melted candy. This firms them up, preventing them from falling apart or crumbling during dipping.
- Don’t Add Too Much Frosting:
- Add frosting gradually to the cake crumbs. Too much frosting makes the mixture wet and sticky, which can cause soggy cake pops or balls that won’t hold their shape.
- Thin Out the Candy Coating:
- If your candy melts are too thick, add 1–2 teaspoons of coconut oil or vegetable shortening to thin them. A thinner coating ensures a smooth, even finish.
- Work in Batches:
- Keep the remaining cake balls in the freezer while dipping a few at a time. This prevents them from softening before coating.
- Secure the Stick:
- Dip the tip of the lollipop stick into melted candy before inserting it into the cake ball. This acts like glue, holding the stick in place.
- Decorate Quickly:
- Add sprinkles, sanding sugar, or crushed freeze-dried strawberries immediately after dipping, before the candy coating hardens.
- Avoid Overheating the Candy Melts:
- Melt candy melts in 30-second intervals, stirring in between. Overheating can make the coating lumpy or seize up.
Different Variations of Strawberry Cake Pops
Take your strawberry cake pops to the next level with these fun and delicious variations:
1. Chocolate-Coated Strawberry Cake Pops
- Replace white candy melts with dark or milk chocolate for a rich, decadent twist.
- Drizzle melted white chocolate over the cake pops for an elegant finish.
2. Vegan Strawberry Cake Pops
- Use a vegan strawberry cake mix and replace eggs with a flaxseed or applesauce substitute.
- Use dairy-free frosting (made with vegan cream cheese) and vegan-friendly chocolate for dipping.
When discussing the vegan or gluten-free variation, you can link to the gluten-free recipe:
“For a gluten-free option, swap all-purpose flour with a gluten-free blend. If you’re looking for an easy and moist gluten-free dessert, check out our Gluten-Free Strawberry Cake recipe for inspiration!”
3. Strawberry Cheesecake Cake Pops
- Add crushed graham crackers to the cake crumbs before mixing with cream cheese frosting.
- Dip in white chocolate and sprinkle with more graham cracker crumbs for a cheesecake-like flavor.
4. Pink Drizzle Cake Pops
- Use white candy melts for coating and drizzle melted pink candy melts on top for a fun and festive design.
5. Freeze-Dried Strawberry Cake Pops
- Crush freeze-dried strawberries into powder and mix it into the frosting for an intensified strawberry flavor.
- Sprinkle the powder over the dipped cake pops for a pop of color and flavor

