Last updated on February 10, 2025
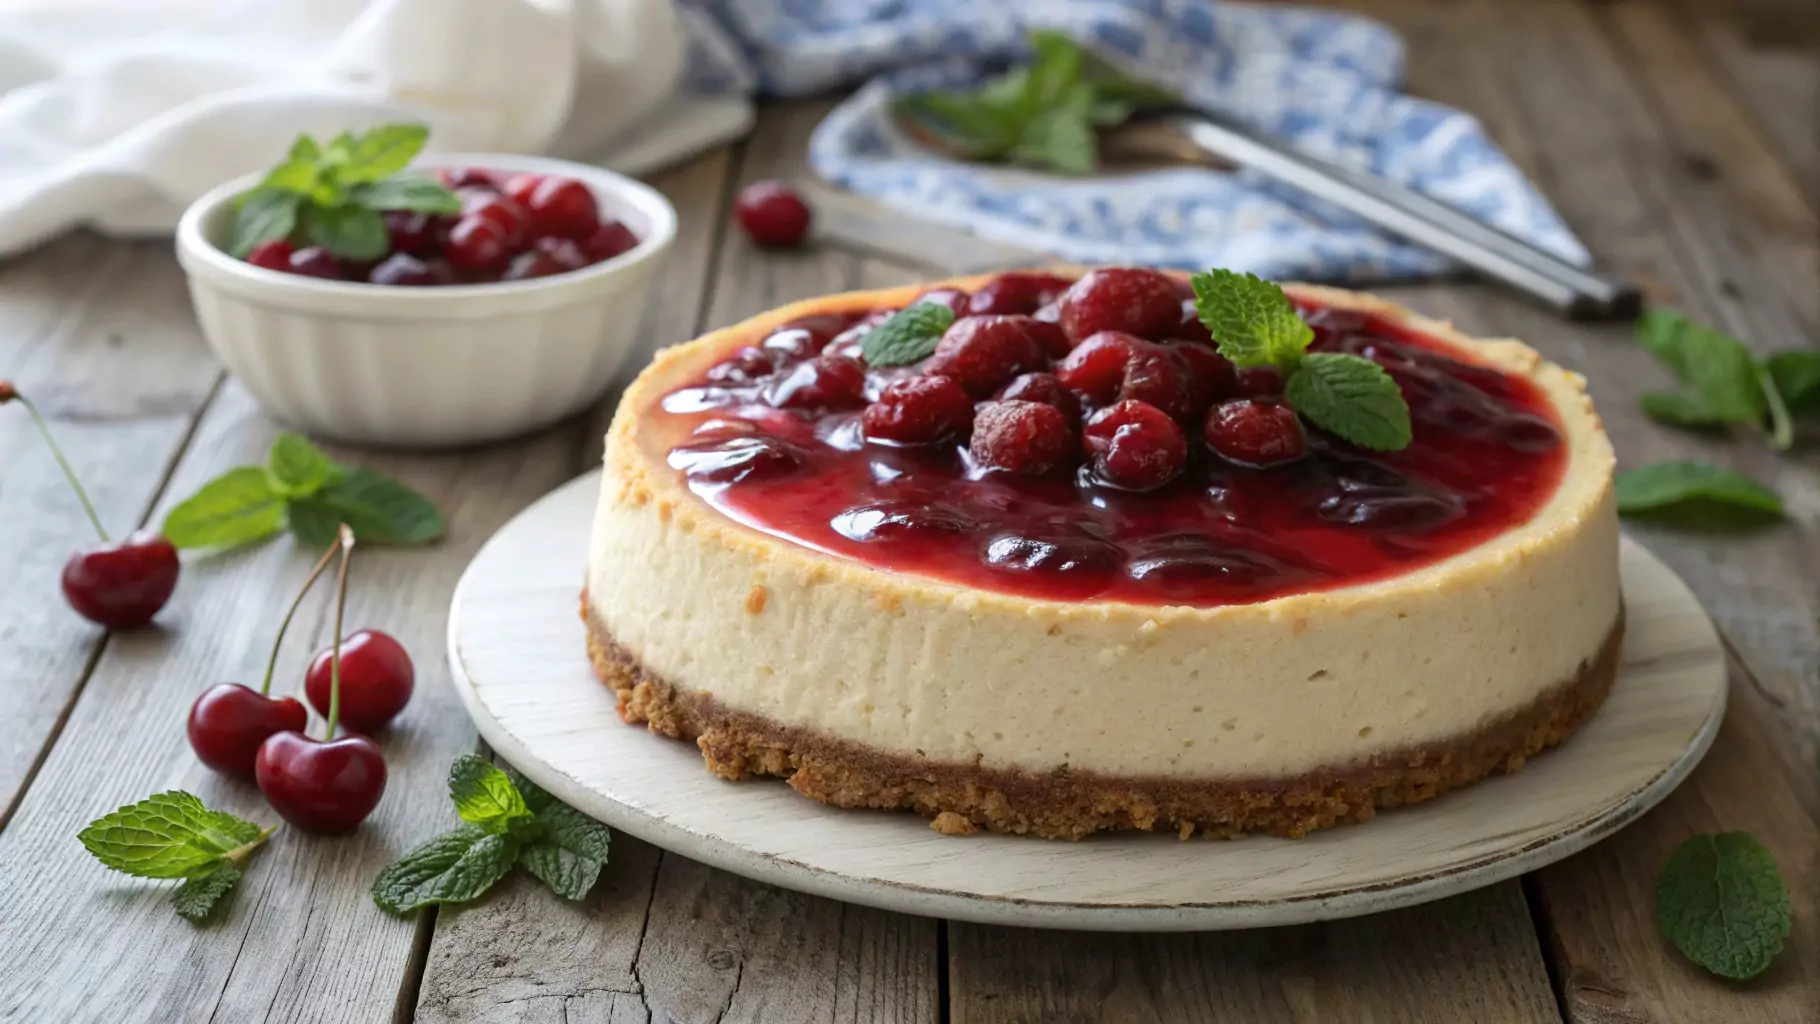
The Cherry Cheesecake Recipe is a beloved classic, cherished for its luscious flavors and indulgent appeal. Combining a smooth, creamy cheesecake base with a buttery crust and the vibrant sweetness of cherries, this dessert has earned its placeas a favorite worldwide. Its timeless charm lies in its ability to captivate both casual dessert lovers and sophisticated palates.
Making a Cherry Cheesecake Recipe at home is an incredibly rewarding experience. It allows you to personalize each step, from perfecting the crust to choosing the ideal cherries for the topping. Whether you’re baking for a celebration or simply treating yourself, this recipe offers the perfect opportunity to create a dessert that brings joy to every bite.
With the right ingredients and a bit of care, this Cherry Cheesecake Recipe will not only impress your guests but also become a treasured addition to your baking repertoire.
History and Origin of Cherry Cheesecake
The origins of cheesecake can be traced back to ancient Greece, where it was a prized delicacy served to athletes during the first Olympic Games in 776 BC. Early versions were simple, combining flour, honey, and cheese to create a cake-like dessert. The Romans later adapted the recipe, incorporating eggs and baking techniques that gave cheesecake its characteristic creamy texture. As trade routes expanded, cheesecake evolved, with recipes spreading across Europe and eventually making their way to the Americas.
Modern cheesecake, as we know it today, gained prominence in the United States during the 19th and early 20th centuries, thanks to the introduction of cream cheese. This innovation revolutionized the dessert, creating the smooth, rich base that pairs so well with various toppings.
The addition of cherries as a topping became popular in the mid-20th century, particularly in the United States. This trend was driven by the accessibility of canned cherry pie filling, which provided a convenient, vibrant, and sweet contrast to the creamy cheesecake. Over time, fresh cherries and homemade compotes also became popular options. The pairing of cherries and cheesecake has since become iconic, combining the dessert’s rich creaminess with the tart-sweet burst of cherries, making it a timeless favorite.
Types of Cherry Cheesecake
- Baked Cherry Cheesecake
The Classic Baked Cherry Cheesecake is the gold standard of cherry cheesecake, celebrated for its indulgent flavor and rich texture. This version features a creamy filling made from cream cheese, sugar, and eggs, which is poured onto a buttery graham cracker or digestive biscuit crust. Baking the cheesecake in the oven allows the eggs to set, giving the dessert a firm yet velvety consistency that melts in your mouth.
A defining characteristic of baked cherry cheesecake is its depth of flavor. The slight tang of cream cheese blends harmoniously with the sweetness of sugar, while optional flavorings like vanilla or lemon zest enhance its complexity. Once the cheesecake is baked and cooled, it is crowned with a layer of vibrant cherry topping, which adds a sweet-tart contrast to the creamy base. This version is perfect for special occasions or when you want to impress your guests with a dessert that feels both traditional and luxurious.
- No-Bake Cherry Cheesecake
The Best No-Bake Cherry Cheesecake is a quick and effortless alternative that doesn’t compromise on flavor. Unlike the baked version, this cheesecake skips the oven and instead relies on ingredients like cream cheese, sweetened condensed milk, and whipped cream to create a light, mousse-like filling. The mixture is spread over a graham cracker crust and chilled in the refrigerator to set.
This no-bake option is prized for its airy texture and refreshing taste. Topped with sweet cherry filling, it delivers the same classic flavors in a lighter, less dense form. It’s ideal for warmer months or when you need a simple yet satisfying dessert that doesn’t require baking expertise.
👉 If you’re a fan of fruity, no-bake cheesecakes, be sure to check out this Blackberry Cheesecake Recipe for another refreshing twist!
Essential Ingredients for Cherry Cheesecake
Crafting a perfect cherry cheesecake involves three essential components: the crust, the filling, and the topping. Each layer contributes to the dessert’s delightful combination of flavors and textures.
- Crust
The crust is the base of the cheesecake, offering a crisp texture that contrasts beautifully with the creamy filling. Traditionally, graham crackers are the go-to choice, lending a mild sweetness that complements the richness of the cheesecake. Digestive biscuits are another popular option, providing a slightly more robust, buttery flavor. For those looking to experiment, alternatives like chocolate cookies, gingersnaps, or even crushed pretzels can be used to add a unique twist. The crumbs are mixed with melted butter and pressed into the bottom of the pan to create a sturdy, flavorful foundation.
- Filling
The filling is the star of the cheesecake, known for its smooth and creamy consistency. The main ingredient is cream cheese, which gives the dessert its signature tanginess. This is combined with sugar for sweetness and eggs, which bind the ingredients and provide structure. Sour cream is often added to enhance the creaminess and give a slight tang, while flavorings like vanilla extract or lemon zest bring depth to the taste. Whether baked or chilled, this layer delivers the indulgent richness that defines cheesecake.
- Topping
The topping completes the cheesecake, adding both flavor and visual appeal. Cherry pie filling is a classic choice for its convenience and vibrant appearance. For a fresher option, use fresh cherries, or elevate the dessert with a homemade cherry compote. The tart sweetness of cherries perfectly complements the rich filling, making this topping essential to the cheesecake’s iconic flavor profile.
With these essential ingredients, you can create a cherry cheesecake that is sure to impress!
Step-by-Step Preparation Guide
Creating a cherry cheesecake may seem daunting, but breaking it down into clear steps makes it a fun and rewarding process. Here’s a guide to help you make the perfect cheesecake:
Making the Crust
- Crush the cookies: Start by crushing graham crackers, digestive biscuits, or your preferred alternative into fine crumbs. You can use a food processor for convenience or place the cookies in a sealed bag and crush them with a rolling pin.
- Mix with melted butter: Combine the cookie crumbs with melted butter in a bowl. Mix until the crumbs are evenly coated and resemble wet sand.
- Press into the pan: Pour the mixture into a springform pan and press it firmly into the bottom using the back of a spoon or the flat side of a glass. This creates a solid base for your cheesecake.
- Pre-bake (optional): Bake the crust in a preheated oven at 350°F (175°C) for about 8–10 minutes. This step helps set the crust and enhances its flavor. Let it cool before adding the filling.
Preparing the Filling
- Beat cream cheese: In a large mixing bowl, beat softened cream cheese with a hand mixer or stand mixer until it’s smooth and creamy.
- Incorporate sugar and eggs: Gradually add sugar while beating, ensuring it’s fully dissolved. Add eggs one at a time, mixing after each addition to maintain a smooth consistency.
- Add flavorings: Stir in sour cream, vanilla extract, and any additional flavorings, such as lemon zest or almond essence.
- Ensure a lump-free mixture: Scrape down the sides of the bowl as needed and beat until the filling is completely smooth. This step is crucial for a creamy texture.
Assembling and Baking
- Pour the filling: Once the crust has cooled, pour the prepared filling over it, spreading it evenly.
- Bake the cheesecake: Place the pan in a preheated oven at 325°F (163°C). Bake for 55–70 minutes, or until the edges are set but the center still has a slight jiggle.
- Cool gradually: Turn off the oven and leave the cheesecake inside with the door slightly ajar for 1 hour. This gradual cooling helps prevent cracks. Remove from the oven and let it cool to room temperature before refrigerating for at least 4 hours or overnight.
Adding the Cherry Topping
- Apply the topping: Once the cheesecake has fully set in the refrigerator, spread your chosen cherry topping over the surface. Options include cherry pie filling, fresh cherries, or a homemade compote.
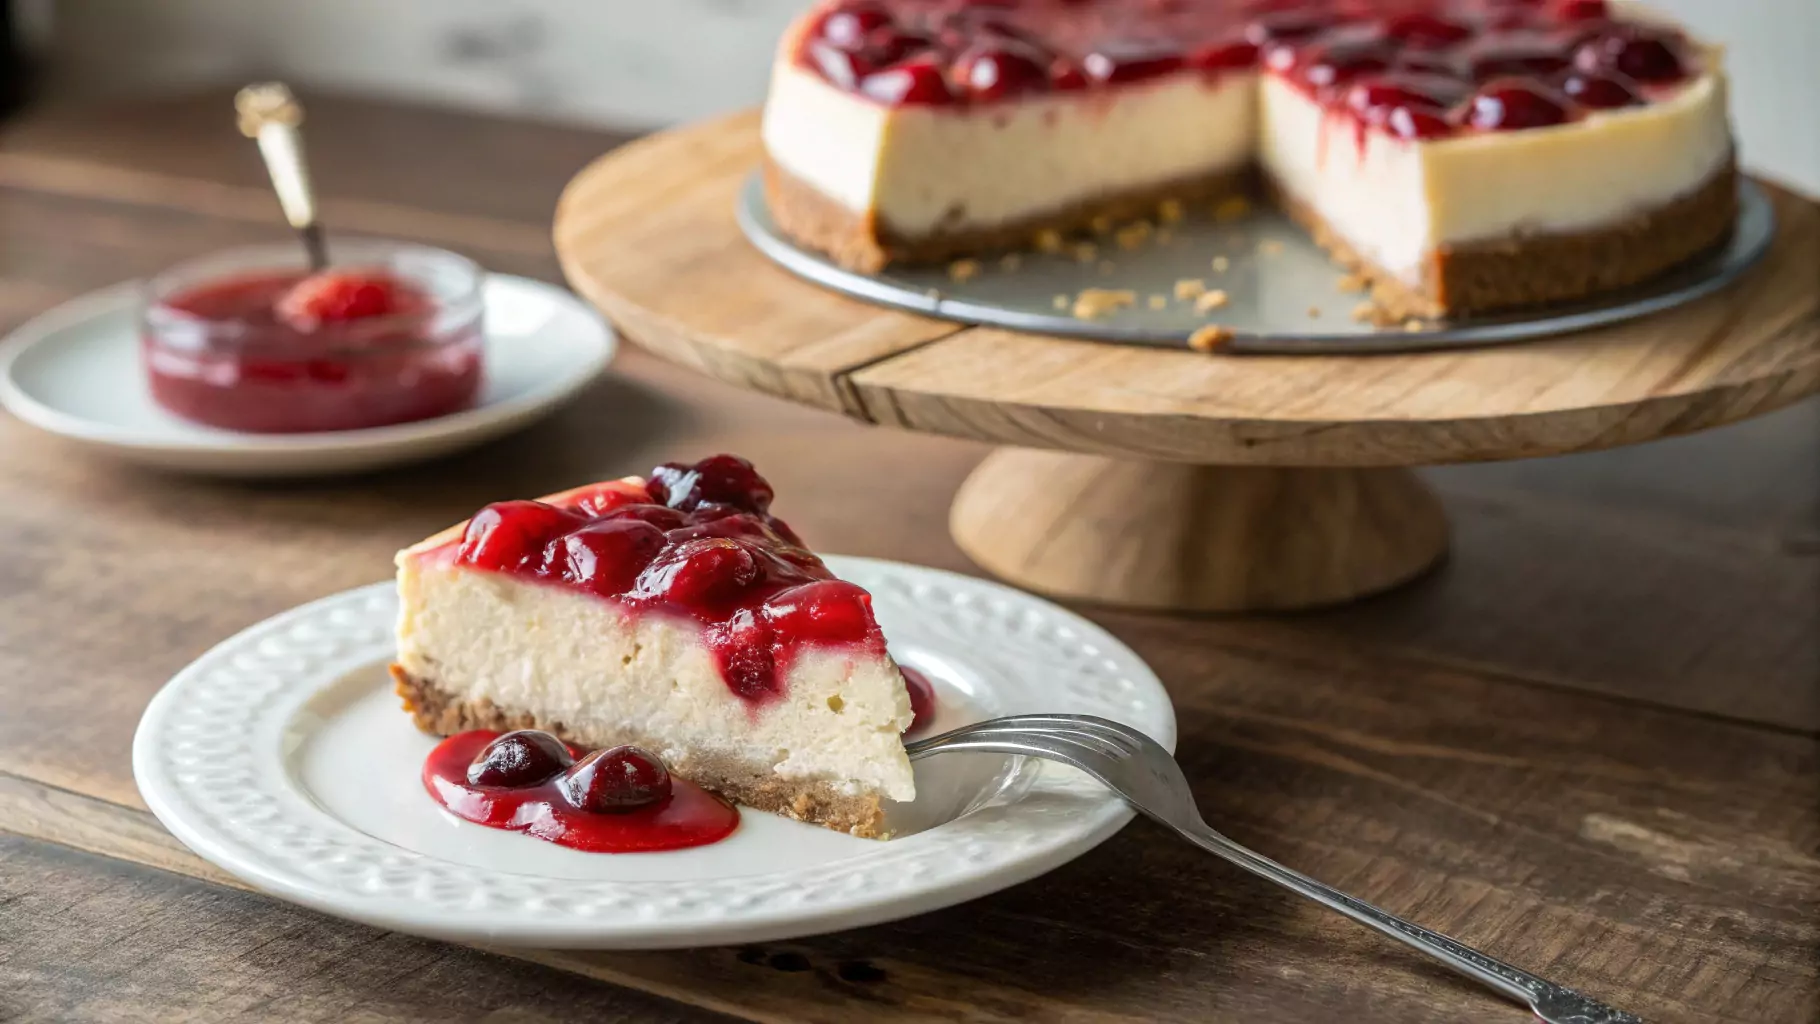
- Serve and enjoy: Release the cheesecake from the springform pan, slice, and serve. The vibrant cherry topping will enhance both the flavor and presentation of your dessert.
By following these steps, you’ll achieve a beautifully smooth and flavorful cherry cheesecake that is sure to impress!
Tips for a Perfect Cherry Cheesecake
Crafting a flawless cherry cheesecake requires attention to detail and a few key techniques. These tips will help you avoid common pitfalls and elevate your dessert to perfection.
-
Avoiding Cracks
Cracks are a common issue in cheesecakes, but they can be prevented with simple methods:
- Use a water bath: Place your springform pan inside a larger pan filled with hot water. The water bath ensures even heat distribution, preventing the edges from setting faster than the center. Be sure to wrap the base of your pan in foil to keep water out.
- Cool gradually: Once baking is complete, turn off the oven and leave the cheesecake inside with the door slightly ajar for about an hour. This gradual cooling prevents sudden temperature changes, which can cause cracks to form.
-
Achieving the Right Texture
The key to the perfect creamy texture lies in ingredient preparation and mixing techniques:
- Room temperature ingredients: Ensure that your cream cheese, eggs, and sour cream are at room temperature before mixing. This allows them to blend seamlessly, avoiding lumps in the batter.
- Gentle mixing: Mix the ingredients on a low setting to avoid incorporating too much air into the batter. Overmixing or vigorous beating can lead to a soufflé-like texture, which may collapse after baking.
-
Flavor Enhancements
Subtle additions can make your cheesecake stand out:
- Almond extract: A small splash of almond extract in the filling complements the cherry topping beautifully, adding a layer of nutty depth.
- Lemon zest: A hint of lemon zest brightens the flavor, cutting through the richness of the cream cheese and enhancing the overall balance.
👉 For a decadent twist on classic cheesecake, try this rich and nutty Pecan Pie Cheesecake Recipe—a fusion of two beloved desserts in one!
Variations and Dietary Alternatives for Cherry Cheesecake
Cherry cheesecake is a versatile dessert that can be adapted to suit various preferences and dietary needs. Here are some creative variations and alternatives:
Mini Cherry Cheesecakes

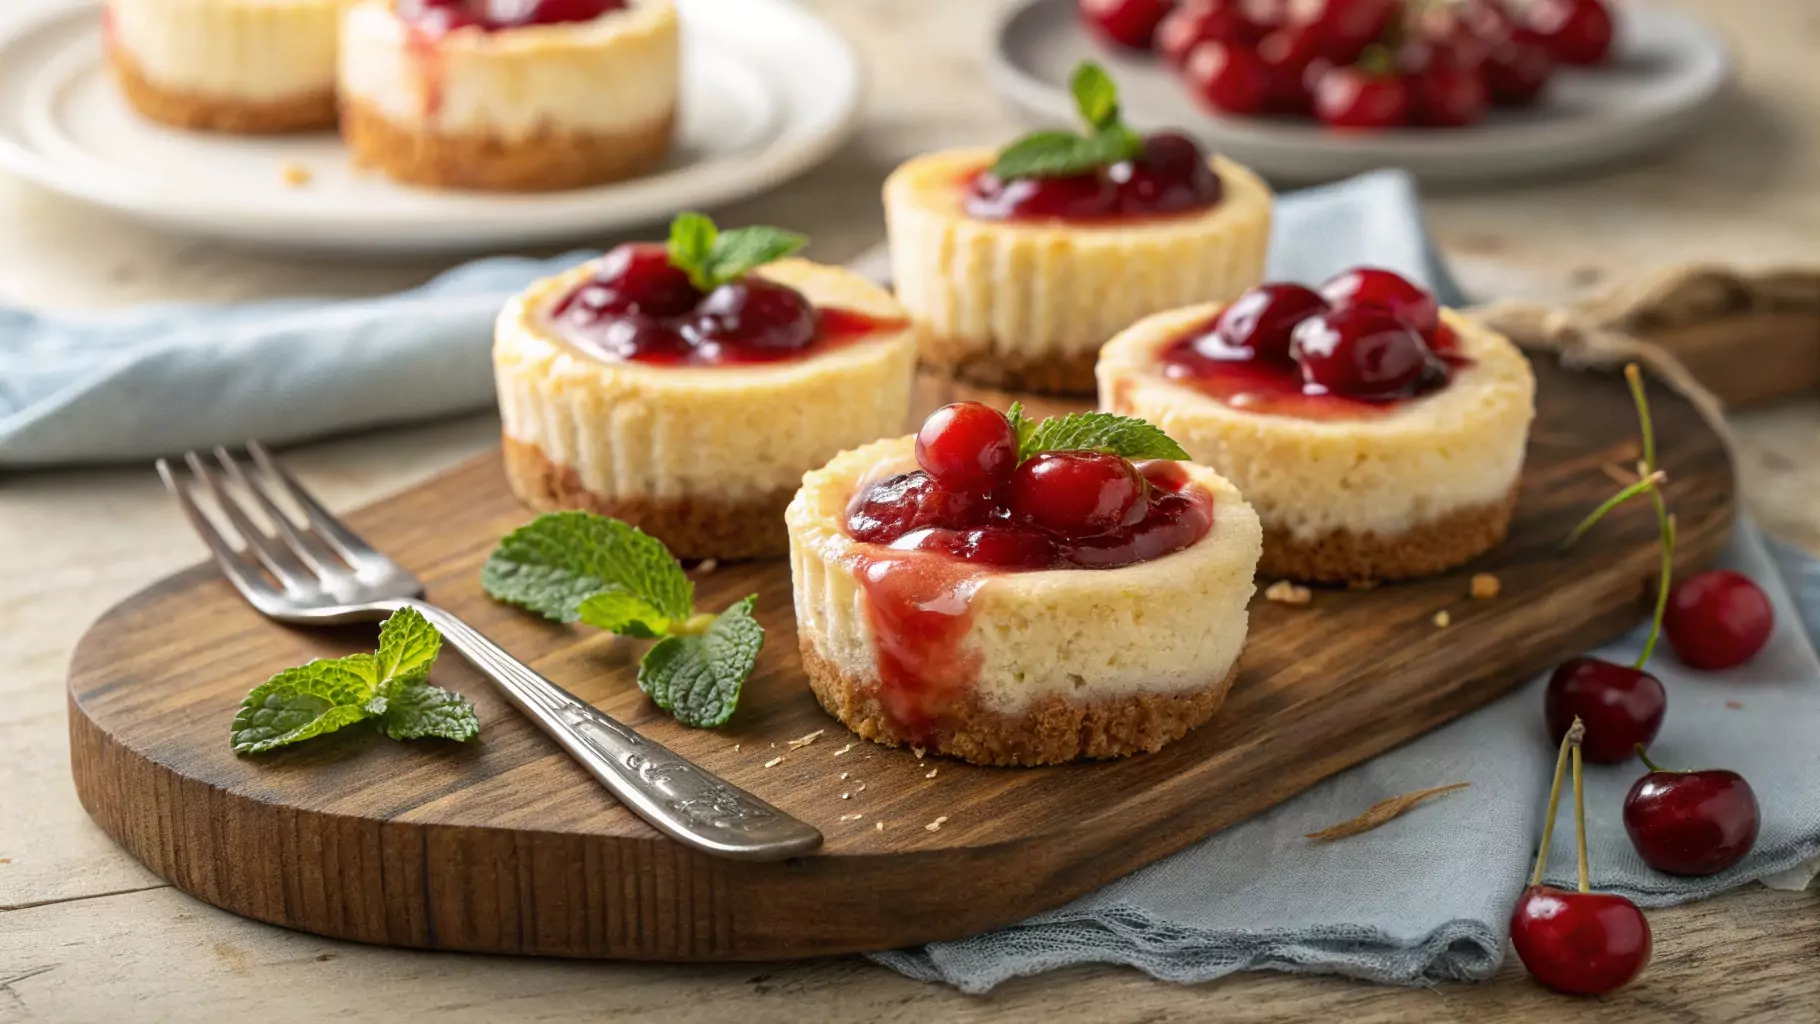
For a fun and practical twist, try mini cherry cheesecakes, which are perfect for individual servings. These small portions are made using cupcake liners and a muffin tin, with each cheesecake having its own graham cracker or cookie base. Mini versions not only make portion control easier but also eliminate the need for slicing, making them ideal for parties or events. The filling and cherry topping are prepared just like a traditional cheesecake, offering all the indulgence of the classic dessert in a convenient size.
👉 If you love mini cheesecakes, you might also enjoy this Cheesecake Ball Recipe—a fun, no-bake treat perfect for parties!
Gluten-Free Options
Those with gluten sensitivities can still enjoy cherry cheesecake by making a gluten-free crust. Substitute traditional graham crackers with gluten-free cookies or crackers, which are now widely available in stores. You can also use crushed nuts, like almonds or pecans, mixed with melted butter for a naturally gluten-free alternative. The rest of the cheesecake remains naturally gluten-free, ensuring a dessert that everyone can enjoy.
Vegan Cherry Cheesecake
For a plant-based alternative, try a vegan cherry cheesecake. Substitute cream cheese with plant-based cream cheese made from cashews, almonds, or coconut. Use coconut cream or vegan yogurt to replace sour cream, and swap eggs with cornstarch, silken tofu, or a flaxseed egg. For the crust, opt for vegan-friendly cookies and plant-based butter. The topping can feature fresh cherries or a homemade compote made without gelatin. This version is a delicious and cruelty-free option that maintains the creamy texture and vibrant flavor of the original.
These variations ensure that cherry cheesecake can be enjoyed by everyone, regardless of dietary restrictions or preferences!
Serving Suggestions and Storage

Presentation Tips
Elevate the look of your cherry cheesecake with a few simple garnishes. A dollop of whipped cream on each slice adds a light, airy contrast to the rich cheesecake. For an elegant touch, sprinkle chocolate shavings or drizzle melted chocolate over the cherry topping. Alternatively, a few fresh mint leaves or a scattering of sliced almonds can add color and texture. Serving the cheesecake on a decorative platter enhances its visual appeal, making it the centerpiece of any dessert table.
Storage Guidelines
Proper storage is essential to maintain the freshness of your cherry cheesecake. After serving, cover the remaining cheesecake with plastic wrap or place it in an airtight container to prevent it from absorbing odors from other foods. Store it in the refrigerator for up to 5 days.
If you need to preserve it for longer, freezing is an excellent option. To freeze, first chill the cheesecake completely in the refrigerator. Once set, wrap it tightly in plastic wrap, followed by a layer of aluminum foil, to prevent freezer burn. It can be frozen for up to 3 months. When ready to serve, thaw the cheesecake in the refrigerator overnight for the best texture and flavor.
These tips ensure your cherry cheesecake remains delicious and visually stunning, whether freshly made or stored for later enjoyment!
Frequently Asked Questions (FAQs)
What is the difference between baked and no-bake cherry cheesecake?
The main difference lies in preparation and texture. Baked cherry cheesecake requires baking in the oven, which sets the filling with eggs, creating a dense, rich, and velvety texture. No-bake cherry cheesecake, on the other hand, uses gelatin or whipped cream to set the filling in the refrigerator, resulting in a lighter, mousse-like consistency. Both versions are equally delicious but cater to different preferences.
Can I use fresh cherries instead of canned pie filling?
Yes, you can use fresh cherries as a topping! To create a homemade cherry compote, simmer fresh pitted cherries with sugar, lemon juice, and a touch of cornstarch until thickened. This option offers a fresher flavor and allows you to control the sweetness and consistency of the topping.
How do I prevent my cheesecake from cracking?
Cracks can be prevented by using a water bath during baking, which provides even heat distribution. Additionally, avoid overmixing the batter, as incorporating too much air can cause cracks. Gradual cooling—letting the cheesecake sit in the oven with the door slightly ajar after baking—also helps prevent sudden temperature changes that lead to cracking.
How long should I chill the cheesecake before serving?
For the best texture and flavor, chill the cheesecake in the refrigerator for at least 4–6 hours, but overnight is ideal. This allows the filling to set completely and makes slicing easier.
Can I freeze cherry cheesecake?
Yes, cherry cheesecake freezes well. Wrap it tightly in plastic wrap and aluminum foil, and freeze for up to 3 months. Thaw it in the refrigerator overnight before serving for the best texture and taste. This makes it perfect for preparing in advance or saving leftovers!
Conclusion
Trying your hand at a Cherry Cheesecake Recipe is a delightful and rewarding experience. This classic dessert, with its creamy filling, buttery crust, and vibrant cherry topping, is a treat that’s sure to impress. Whether you follow a baked or no-bake Cherry Cheesecake Recipe, making it at home allows you to add personal touches and enjoy the satisfaction of creating something special. Gather your ingredients, follow the steps, and experience the joy of crafting this timeless dessert. A homemade Cherry Cheesecake Recipe is more than just a dessert—it’s a way to create lasting memories.


1 thought on “Cherry Cheesecake Recipe: A Timeless Dessert for Every Occasion”