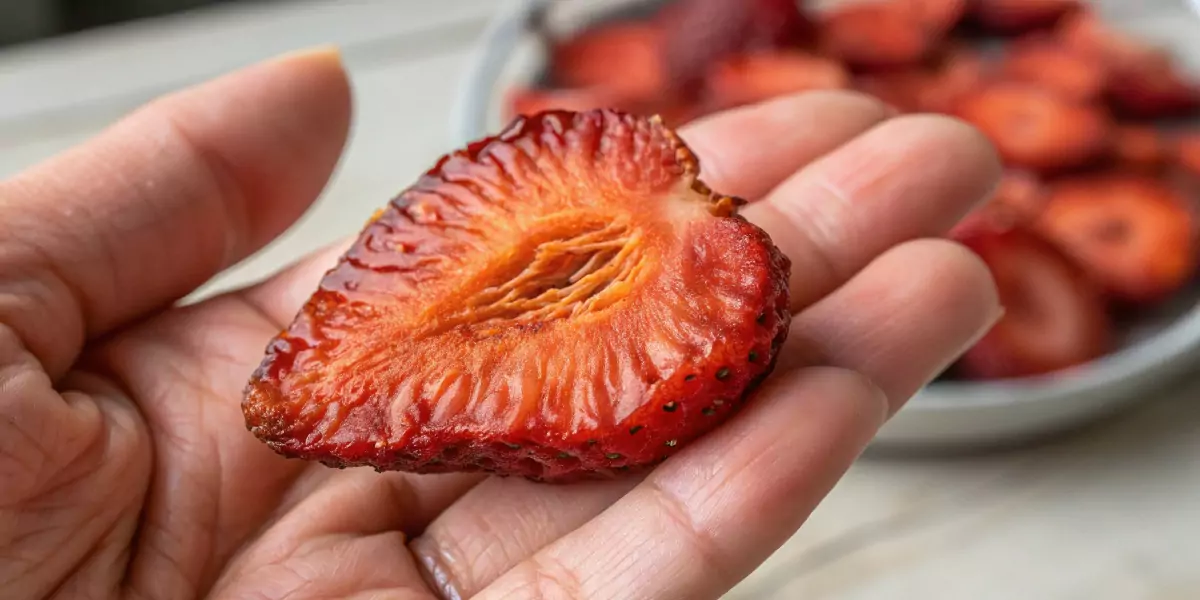
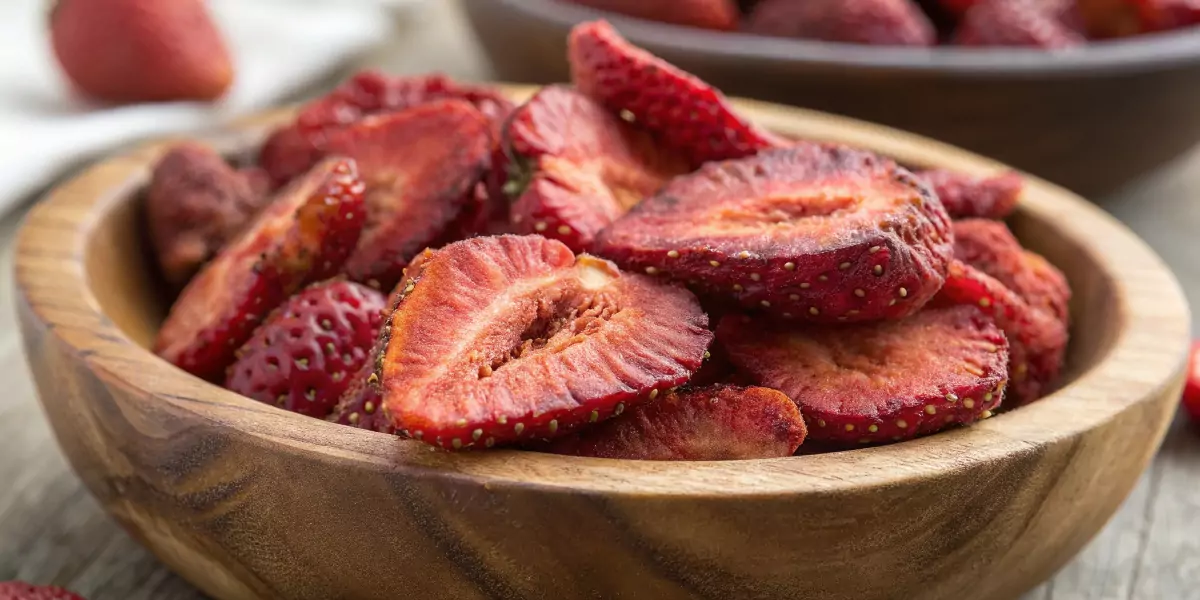
Sometimes, you just want a sweet, chewy snack that isn’t loaded with artificial stuff and added sugars. Enter: oven-dried strawberries, the perfect mix of natural sweetness and satisfying texture. They’re easy to make, incredibly delicious, and the best part? No preservatives, just pure fruit goodness. Whether you toss them into your morning granola, pack them in a lunchbox, or enjoy them straight from the jar, these homemade dried strawberries are about to become your new favorite snack.
Why You’ll Love These Oven-Dried Strawberries

- All-natural sweetness – No added sugar needed; strawberries are sweet enough on their own!
- Super easy to make – The oven does most of the work for you.
- Perfect for snacking – Great for kids, road trips, or a quick energy boost.
- Versatile – Add them to yogurt, smoothies, or even bake them into muffins.
- Longer shelf life – Fresh strawberries go bad fast; drying them keeps their deliciousness around much longer.
- Budget-friendly – Store-bought dried strawberries can be pricey; making them at home saves money.
- No weird additives – Many commercial dried fruits contain sulfites and added sugars. This recipe keeps it pure and simple.
Ingredients You’ll Need
- 2 pounds (900g) fresh strawberries – The star of the show! Go for ripe, sweet ones.
- Parchment paper – Keeps them from sticking to your baking sheet.
How to Make Oven-Dried Strawberries
Method 1: Oven Drying (The Easy Way!)

- Preheat the oven – Set it to 200°F (93°C). Low and slow is the way to go.
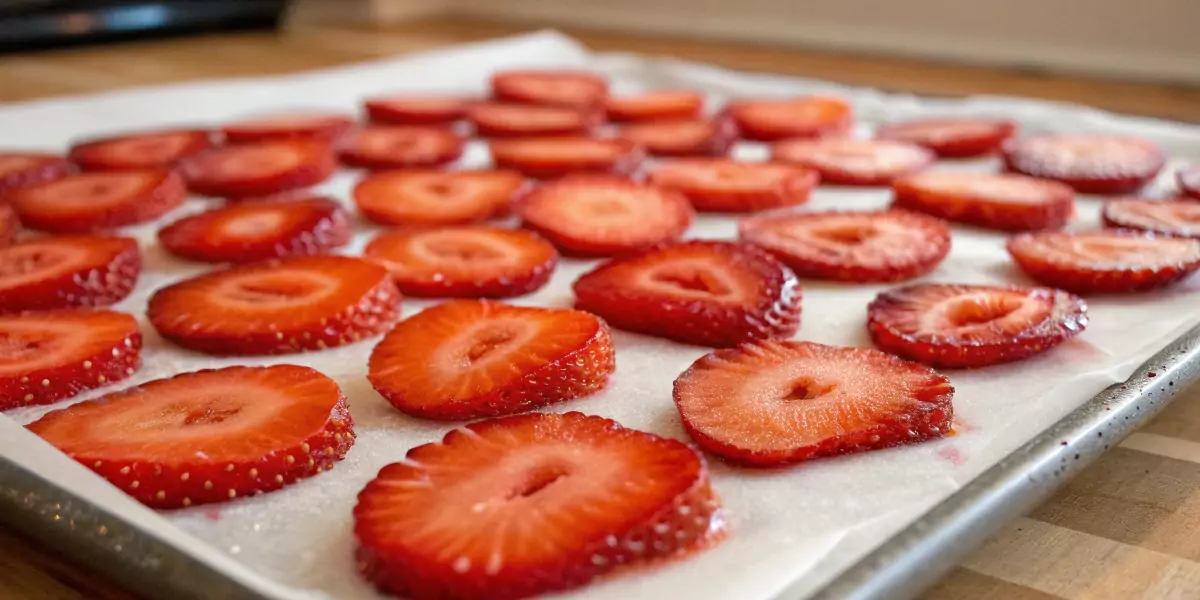
- Prep the strawberries – Wash them well, remove the stems, and slice them into 1/4-inch thick pieces. Even slices help them dry evenly.
- Line them up – Place a sheet of parchment paper on a baking tray, then arrange the strawberry slices in a single layer (no overlapping!).
- Bake ‘em slow – Pop the tray into the oven and bake for 3-4 hours, flipping halfway through. You’re looking for dry but slightly chewy results.
- Cool completely – Let them sit at room temperature before storing. They’ll firm up a little more as they cool.
- Store properly – Keep them in an airtight container at room temp for up to a week, or refrigerate for a longer shelf life.
Method 2: Using a Dehydrator (For the Pro Snackers)
- Set your dehydrator to 135°F (57°C).
- Lay out the slices on dehydrator trays, making sure they don’t touch.
- Let them dry for 6-8 hours or until they reach your preferred texture.
- Store in an airtight container for easy snacking.
Pro Tips for the Best Homemade Dried Strawberries
- Pick the ripest strawberries – The sweeter they start, the better they taste dried.
- Thinner slices = faster drying – Thicker slices take longer and stay chewier.
- Don’t crank up the heat! – Higher temps can cook them instead of drying them.
- Flip them halfway – This helps them dry evenly and prevents sticking.
- Let them breathe – Store them in a loosely covered container for the first day to prevent excess moisture buildup.
- Want them crispier? Bake them an extra 30 minutes for a crunchier texture.
- Sprinkle a little cinnamon for a fun flavor twist!
How to Serve These Dried Strawberries
- Snack attack! Eat them straight from the jar.
- Yogurt’s best friend – Toss them into Greek yogurt with granola.
- Cereal upgrade – Mix them into your morning oatmeal or cereal.
- Smoothie boost – Blend them into a strawberry smoothie for an extra punch of flavor.
- Bake them in – Add to muffins, cookies, or even homemade energy bars.
- Salad topper – They pair wonderfully with goat cheese and nuts.
- Charcuterie board addition – A perfect sweet contrast to cheeses and nuts.
-
Use in desserts – Want to take your baking to the next level? Try adding these dried strawberries to cakes like this Gluten-Free Strawberry Cake for an extra burst of flavor. Or mix them into a Strawberry Tres Leches Cake for a fun texture twist!
Make Ahead and Storage
Storing Leftovers
- Keep in an airtight container at room temp for up to a week.
- Refrigerate for up to 2 weeks.
- Keep them in a cool, dry place to maintain freshness.
Freezing
- Yes, you can freeze them! Store in a zip-top freezer bag and keep for up to 3 months.
- Frozen dried strawberries make a delicious frozen snack or smoothie ingredient.
Reheating (If Needed)
- If they get too hard, pop them in the microwave for a few seconds to soften them up.
- Alternatively, leave them out at room temperature for a few minutes to regain chewiness.

Oven-Dried Strawberries Recipe
- Total Time: 3 hours 10 minutes
- Yield: 2 cups 1x
Description
Make easy oven-dried strawberries at home! A naturally sweet, chewy, and healthy snack with no added sugar. Perfect for yogurt, granola, and baking.
Ingredients
- 2 pounds (900g) fresh strawberries
- Parchment paper (for baking)
Instructions
- Preheat the oven – Set it to 200°F (93°C).
- Prepare the strawberries – Wash, remove stems, and slice into 1/4-inch thick pieces.
- Arrange on a baking sheet – Line a tray with parchment paper and place slices in a single layer.
- Bake slowly – Bake for 3-4 hours, flipping halfway through. Strawberries should be dry but still chewy.
- Cool completely – Let them cool before storing.
- Store properly – Keep them in an airtight container at room temperature for up to a week, or refrigerate for longer.
Notes
- For crispier strawberries, bake an extra 30 minutes.
- Use a dehydrator instead: Set to 135°F (57°C) and dry for 6-8 hours.
- Store in a cool, dry place for freshness.
- Add a sprinkle of cinnamon for extra flavor!
- Prep Time: 10 minutes
- Cook Time: 3-4 hours
- Category: Dessert
- Method: Oven
- Cuisine: American
Nutrition
- Calories: 30-40
- Sugar: 5g
- Carbohydrates: 9g
- Fiber: 2g
- Protein: 0.5g
FAQs
Can I use frozen strawberries?
Yes, but thaw them completely and pat them dry before slicing and drying. They may take a little longer in the oven.
How do I know when they’re done?
They should feel dry to the touch but still a little flexible, not crisp like chips.
Can I speed up the drying process?
Not really. Higher heat will cook them instead of drying them, so patience is key!
Are these similar to store-bought dried strawberries?
Yes, but better! Store-bought ones often have added sugar and preservatives. These are 100% natural.
Do oven-dried strawberries taste like candy?
Not exactly, but they’re naturally sweet and chewy. If you’re looking for an even sweeter treat, drizzle them with a little honey before baking.
Can I season them with anything?
Absolutely! Try sprinkling them with a little cinnamon, nutmeg, or even a tiny pinch of sea salt for an unexpected flavor twist.
If you’ve never tried making oven-dried strawberries at home, this is your sign to do it. They’re simple, delicious, and a fun way to keep summer flavors around all year. Whether you enjoy them as a healthy snack, in your breakfast, or as a baking ingredient, these dried strawberries are a game-changer. Once you taste them, you might never go back to store-bought! Enjoy!

